
Here's my take on creating a little card pouch filled with mini cards, just in time for the Brown Bag sale and Valentine's Day! Make this to use yourself, or share with a friend.
I like to spread out the love beyond Valentine’s Day… we have Valentine’s
week around my house. Each day when the
kids and hubby come home from school and work, they find a little card and
sweet treat waiting for them. However
you celebrate, these little cards will surely help sweeten things up a bit!

Supplies:
Assorted Valentine's Day patterned paper and embellishments
Paper cutter
Scoring tool
Adhesive, including sticky, strong red tape
RickRack or other ribbon
Corner rounder (optional)
Scissors

Steps:
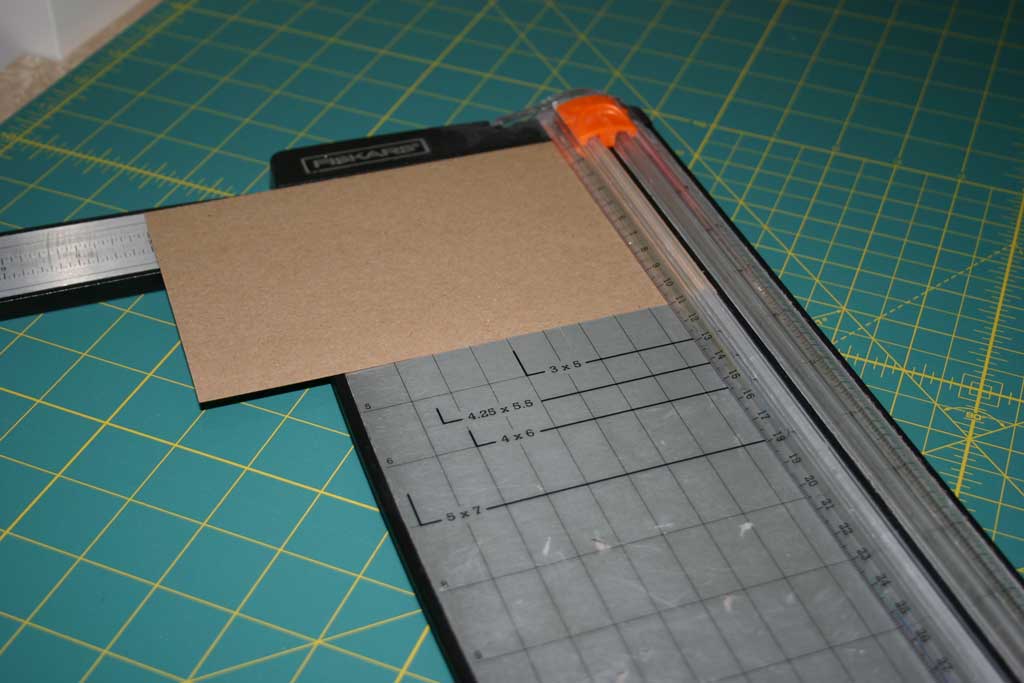
Cut an 8 1/2 x 11 piece of Brown Bag cardstock to 4 1/4 x 7
On the 4 1/4 wide edge, score at 1/2" and 3 3/4"
On the 7 wide edge, score at 3 1/4" and 3 3/4"

Snip in to the intersecting line just a bit on the center
folds to create two small tabs on the sides of your pouch

Fold on all of the scored lines


Cut about 8” of your ribbon or rick-rack and attach it to
the short strips of adhesive you added to the top, inner flaps.
Reveal the adhesive from the long strips and stick together
the side flaps. They are the same size,
so they should align nicely.

When you’ve done that for both sides, you will have your
little card pouch.

All that’s left is to jazz it up a bit with cardstock,
patterned paper and other embellishments you want to use.
For the cards inside, I cut three pieces of brown bag
cardstock; each measure 3 x 6. Score
each in half and then decorate the cards to match your card pouch.


like all the designs...I appreciate you share it.
ReplyDeletelike all the designs...I appreciate you share it.
ReplyDeleteGift Card envelopes