

Hi! It is Lisa Lahiff here with you today and I am sharing a layout using red, white, and green with a touch of gold. The Holidays seem to be filled with hustle and bustle, and at my house a lot of photos too. I love being able to scrap the little moments after all of the hoopla is over, and to take a photo and reflect on what was happening at that time. So let's take a look at some step by step photos on how my layout came together...


2. I left the Dark Red Cardstock it's original size and rounded the bottom corners, adhering this to my 12 x 12" base. Next I trimmed a mat for my photo from the gold glitter cardstock 1/4" bigger on both sides of the photo. I also used a strip of gold glitter cardstock and adhered it to the left side under the red.


5. I then finished my layout off with a few extra embellishments including some buttons and a wood tree cut out.

Happy Crafting!
Lisa
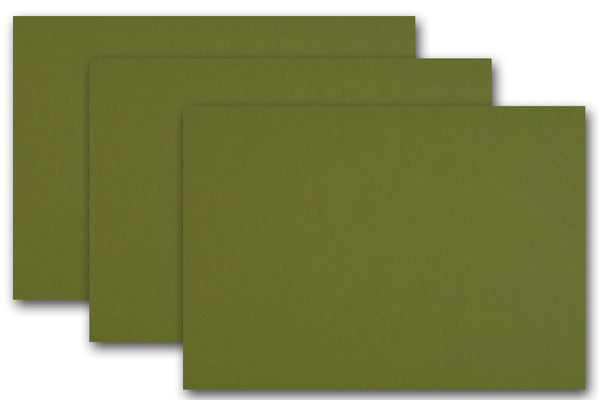
PS- All Red, White and Green Cardstocks are currently on Sale, yay!
Supplies Used:


No comments
Thank you for visiting the CutCardStock blog! We appreciate your comments.