

Hello! It is Lisa Lahiff here with you today and this month we are sharing fun home decor pieces with you using the Classic Crest Card stock, and with Valentine's right around the corner it was time to switch up my holiday frame and I have a step by step tutorial on how you can re-create this look for yourself!
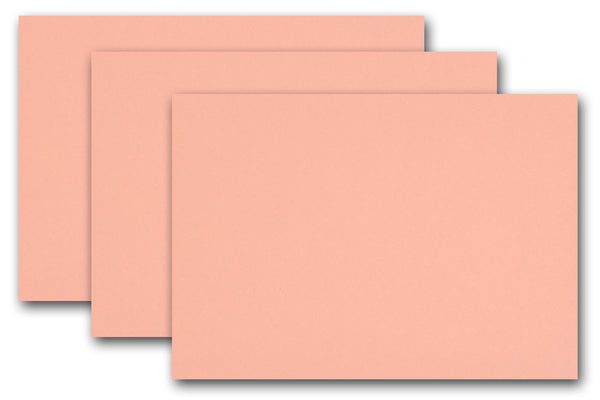
Step1: I started by creating my own marbled looking pink and red paper by first going over a sheet of Classic Crest Card stock in 100 Natural White with White Gesso. I simply covered the whole sheet with my finger, but if you prefer to stay clean you can also use a paint brush.

Step 2: Once all of the Gesso was dry (Gesso can dry rather quickly, but if you are impatient like me you can use a heat gun to speed it along) I went over the sheet with various red and pink Gellatos®, which at first looks like nothing more than scribbles...

Step 3: But with this step you turn those scribbles into a beautifully blended sheet of card stock by going over the Gellatos with a baby wipe. Once everything is blended you can even create patters by swirling the baby wipe in a circular motion.

Step 4: I set this off to the side to dry and began working in Cricut® Design Space to select my cuts. I decided upon a fun heart background as well as a sentiment. The heart background was cut from my swirled paper, while the sentiment was cut from Bubblegum Pop Tones Card stock and Gold Glitter Card stock. (Cuts Used: Thoughts and Phrases - You're A Peach Cartridge, Paper Lace Cartridge)


Step 5: I then layered this all together onto Classic Crest Solar White 80# Card stock measuring 7" x 7", and then added it to my frame...


Thanks so much for stopping by today, and I hope this gives you some ideas on how you can create your own look from basic card stock colors. And don't forget that all Classic Crest Card stock is currently on sale! :)
Happy Crafting!
Lisa
Supplies Used:


Awesome!!
ReplyDeleteWhat a great idea! Pretty :)
ReplyDelete