Now yes, her birthday is St. Patrick's Day, but I chose not to use the usual elements of the day and focus all on her and her sixteenth birthday. The weight and shimmer of all the metallic card stock is gorgeous and made for a beautiful sparkly card.
I began with an A7 prefolded card base. I trimmed a piece of the Fairway Card Stock to fit the top of the card leaving a small border of kraft around the edges.
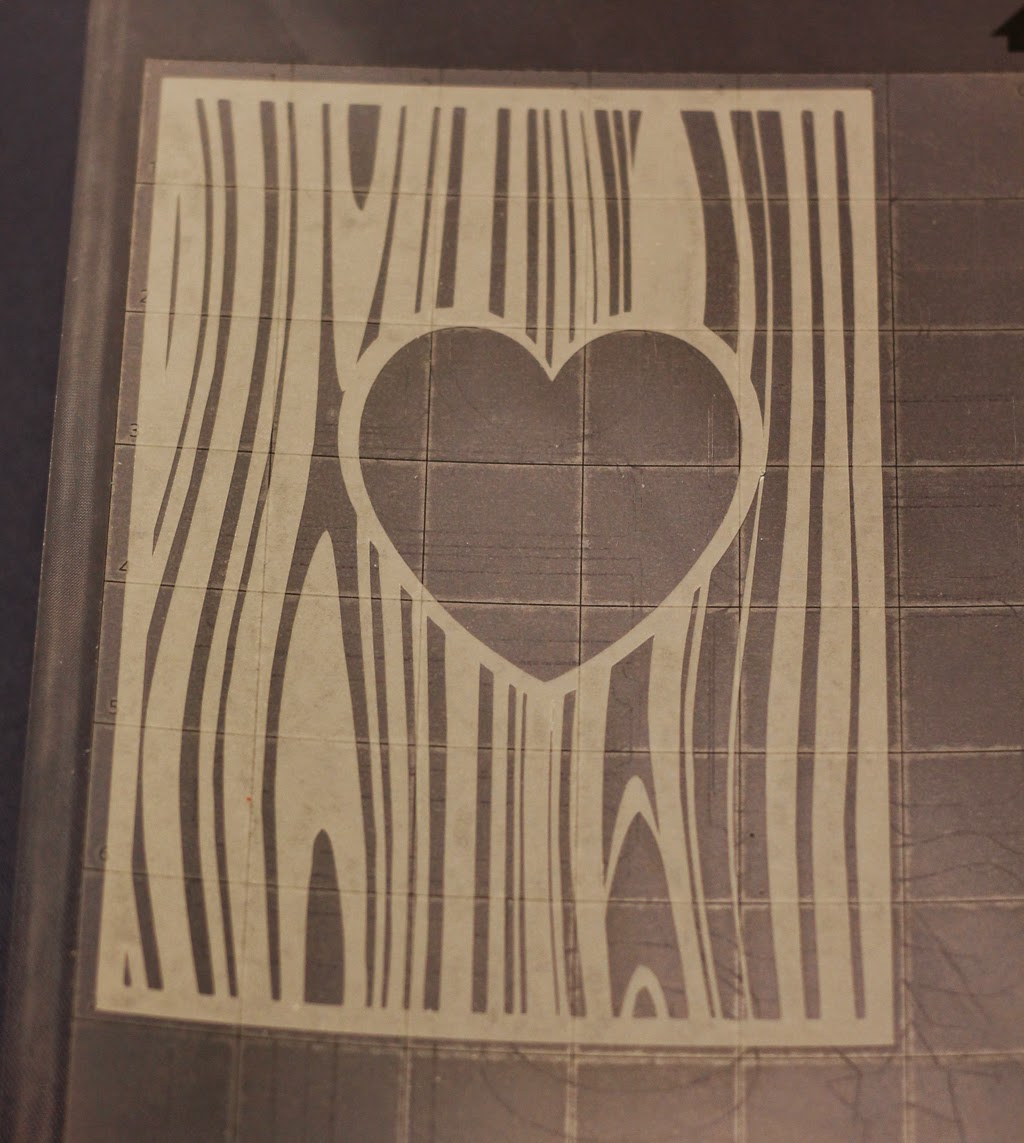
I love Translucent Paper (vellum) and finding ways to include it in projects. Using my Silhouette Cameo I cut a woodgrain/heart pattern into the Translucent Paper. I save my older mats for any vellum cutting I do. This allows for easy removal without a lot of tearing and ripping to happen. Besides using an old mat I also use the spatula tool and take it nice and slow.
One thing about using translucent paper in projects is trying to figure out how to attach it without the adhesive showing. I used a spray adhesive and it worked perfect for a nice clean finish.
I wanted the heart outline to be framed a little more and decided to add hand stitching around the edge. Using an paper piercer I poked holes all along the edge.
I used a lime green embroidery thread and backstitched through the holes.
The stitching will be seen from the inside of the card. To leave a clean finish I like to use just a spot of glue on each of the floss tails. Cut the ends pretty close and blend them in to look like stitching.
Once the glue dries you can hardly see where the embroidery floss was stopped and started.
I have an addiction to labels right now and use them for a lot of my scrapbook layouts and cards. Using the print and cut feature on the Silhouette and Cougar White Card Stock I made a whole sheet of green labels. I LOVE the thickness of the Cougar Card Stock in 130# weight. The weight of the card stock adds a little dimension without adding too much thickness.
Since my Silhouette was getting such a great workout already I also cut my birthday sentiment from Botanic - Curious Metallics. The perfect shade of green to compliment the card stock base.
I hand wrote on the label before adding it and the sentiment to the card top. As a few finishing touches I added enamel dots, a few ink splatters, and outlined the sentiment in black to make it stand out a little more.
There you have it a Happy Birthday card for a sweet birthday girl. I hope I sparked a few creative ideas to get you going. Thanks so much for stopping by the blog today.
Happy Crafting, Nicole
Products used in this project:


love this project.
ReplyDeleteI love this project! So much great detail!
ReplyDeleteGorgeous card, love it!
ReplyDeleteThis is wonderful! Great project, Nicole!
ReplyDeleteThis is gorgeous, Nicole! LOVE the use of the translucent paper! HUGS! :) Mynn xx
ReplyDelete