I know, I know, we just celebrated New Year but I'm also very excited about Chinese New Year which is in less than three weeks! It's the Year of the Rat! 🐭
So to get ready for the festivities, I made these super cute paper lanterns and strung them into a garland. Want to make one too? I've got the step-by-step tutorial for you!
For this project, I used Astrobright Cardstock in Solar Yellow for the main part of the paper lanterns and Pop Tone Cardstock in Wild Cherry for the thin bands above and below the curved lanterns.
First, I used my Silhouette CAMEO to create the main paper lantern piece that measured 3in x 4in. I've uploaded my cut file so feel free to use it - download it here! Note: this cut file has cut and perforated lines.
Once cut, the goal is to curl this piece. I tried various ways but it's tricky to curl thick paper like cardstock. More often than not, it will still get slightly bent. Believe it or not, the best way I found was to place the piece under your palm and "curl" it by rolling it up and down against a 90-degree edge. The edge of my desk was perfect!
Next, fold along the perforated edge and then also curl it the other direction with your fingers.
After all that curling, the piece should look something like this.
To create the 3D lantern, add a small amount of glue on one end, overlap the other end on top and press down firmly to secure it.
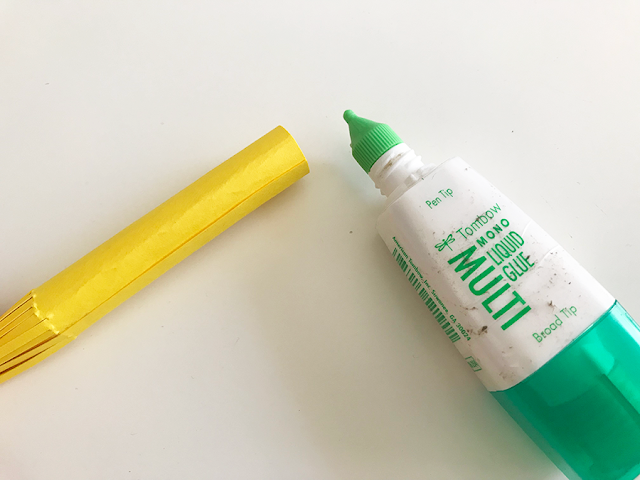
Then cut the thin bands in the cut file and glue them using Tombow Mini Liquid Glue. In case you were wondering, these bands measure 0.25in tall and slightly under 4in wide.
On only one of the bands, use a small hole puncher (I used my Crop-o-Dile) to punch two tiny holes on opposite sides of the band.
The next piece to make is the inner roll with fringe. To create this, cut a 2in x 5in piece from the yellow Astrobright cardstock. With scissors, cut 2.25in in from one edge to create a fringe.
Using the same palm-rolling technique, curl this smaller piece and use Tombow glue to secure it into a cylindrical shape.
Once dried, insert the fringe piece into the main piece until the fringe line meets the bottom band. Then, mark a small dot with a pencil through one of the tiny band holes that you made earlier.
Using the same small hole puncher, punch another set of tiny holes, each one opposite of each other.
To assemble these two pieces together, thread thin black twine through the tiny holes and tie a knot at the end.
You can hang these individually or string them into a garland like I did. I love how this project is 99% made from a flat material like cardstock. Am I the only one who loves transforming paper?! Now, order some yummy takeout and you'll be ready for Chinese New Year festivities! My year (Year of the Pig) is coming to an end. What's your Chinese Zodiac sign?
xo,
Christine (@studio_xtine)
Subscribe to:
Post Comments (Atom)


No comments
Thank you for visiting the CutCardStock blog! We appreciate your comments.