

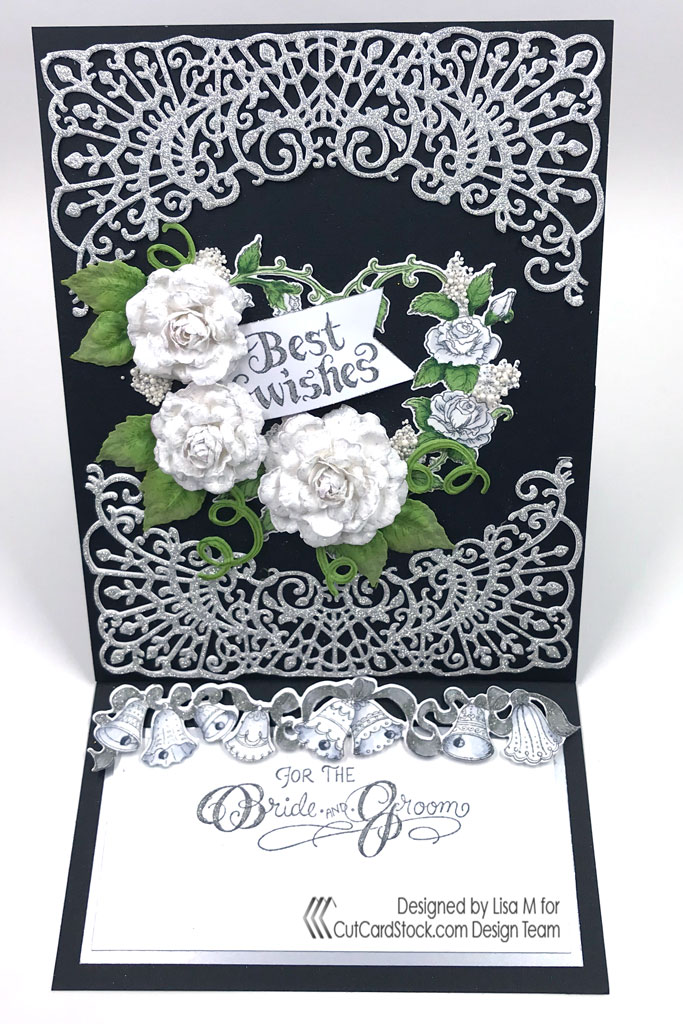
With Valentine's Day over, there are bound to be some weddings in your future. Here is an elegant easel card for the special bride and groom.


I started by stamping Heartfelt Creations Classic Rose with Silver Delicata Ink on Classic Linen Solar White Cardstock. I used the matching dies to cut them out, and the mold to shape them.

I stamped the leaves on Pop-Tones Gumdrop Green Cardstock. I die cut them with the corresponding die. Then I used Copic Markers and Peeled Paint Distress Oxide Ink to add highlights to the leaves. Then using the mold I shaped the leaves. I just love how they turned out.
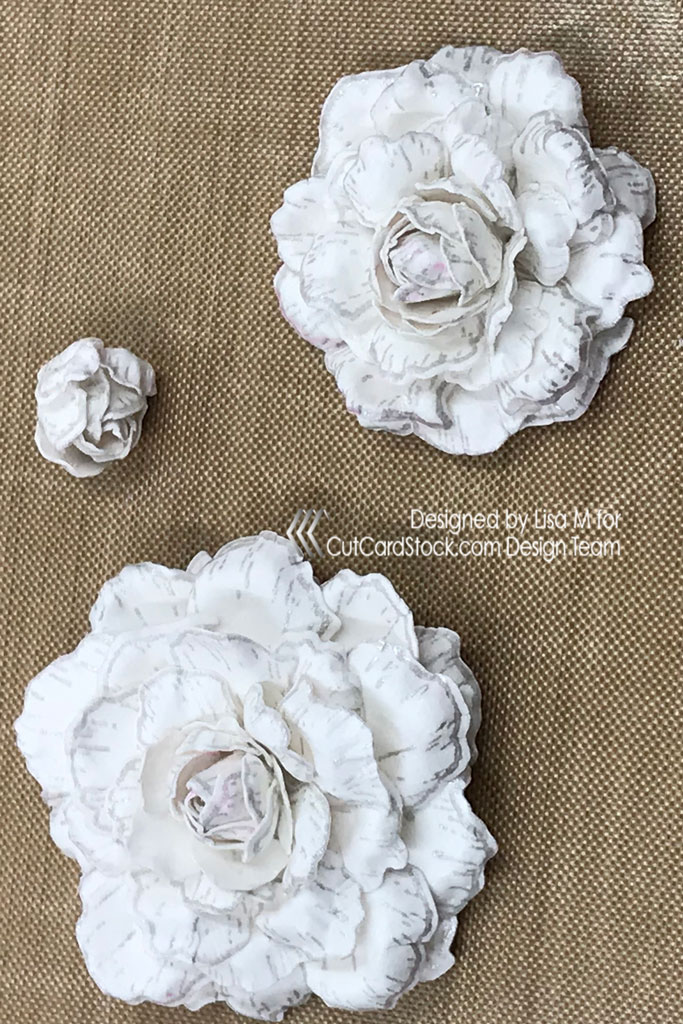

I layered the flowers and added clear glitter to make them sparkle.

I used Classic Linen Epic Black Cardstock to cut a 5.5" x 7.5" (score at 1/2" on the short end), 5.5" x 7" (score at 3.5") and 5.5" x 7".

Attach the 1/2" flap to the back of the scored 5.5" x 7" piece.


Apply Score Tape to the bottom half of the front of the card. Attach the 5.5" x 7" piece to the bottom half of the card base.


On Classic Crest Solar White Cardstock, stamp Best Wishes on a 1" x 1.5" strip and For the Bride and Groom on 4.75" x 2.25" piece. Highlight the words with Silver Wink of Stella.


I stamped the images on Classic Crest Solar White Cardstock with Lawn Fawn Premium Black Ink. Then I colored the images with Copic Markers. I added Silver Wink of Stella to the bells' ribbon and Clear Wink of Stella to the bells.

I layered the sentiment on a 5" x 2.5" piece of Silver Cardstock and attached it to the the inside of the card. I used Foam Squares to attach the bells.


Attach the lace borders to the top and bottom of the card and the heart in the middle. Attach the flowers, leaves and Best Wishes on the left side of the heart.

I also add a few Mini Prills to the areas of Baby's Breath.
Now you are ready to send your card to the lucky bride and groom. This will be sure to become a keepsake.
Check out CutCardStock for all your paper needs.


No comments
Thank you for visiting the CutCardStock blog! We appreciate your comments.