

Hello again! I'm so glad to be joining the design team for another year of fabulous projects! For my first project of this term, I thought I'd start off with some darker colors since I always tend to work in brights and whites. Plus, it's always good to have a sympathy card on hand, just in case.
To make this card, I chose Curious Metallic cardstock in Poison Ivory and Chocolate. The main reason I went with this kind of cardstock is the coating on the paper - it’s terrific for blending inks. Also, the metallic sheen in the cardstock shows through dye and pigment inks. It’s such a lovely finish on an otherwise flat card.
I taped down a 5 1/2 x 4 1/4-inch piece of ivory to my work surface and then taped the stencil over it to keep them from shifting while I was laying down ink.

The stencil has a jagged edge, which is a little tricky to use with sponge blenders. I opted for an ink blending brush, and starting with the lightest color, swept the ink horizontally over the stencil and onto the paper.

The dye ink I used has a minute or two of working time before it dries completely. It’s easy to smudge edges or clean up mistakes with a small eraser. So, after I lifted the stencil, I went around the edges of the inked area to soften them a little.
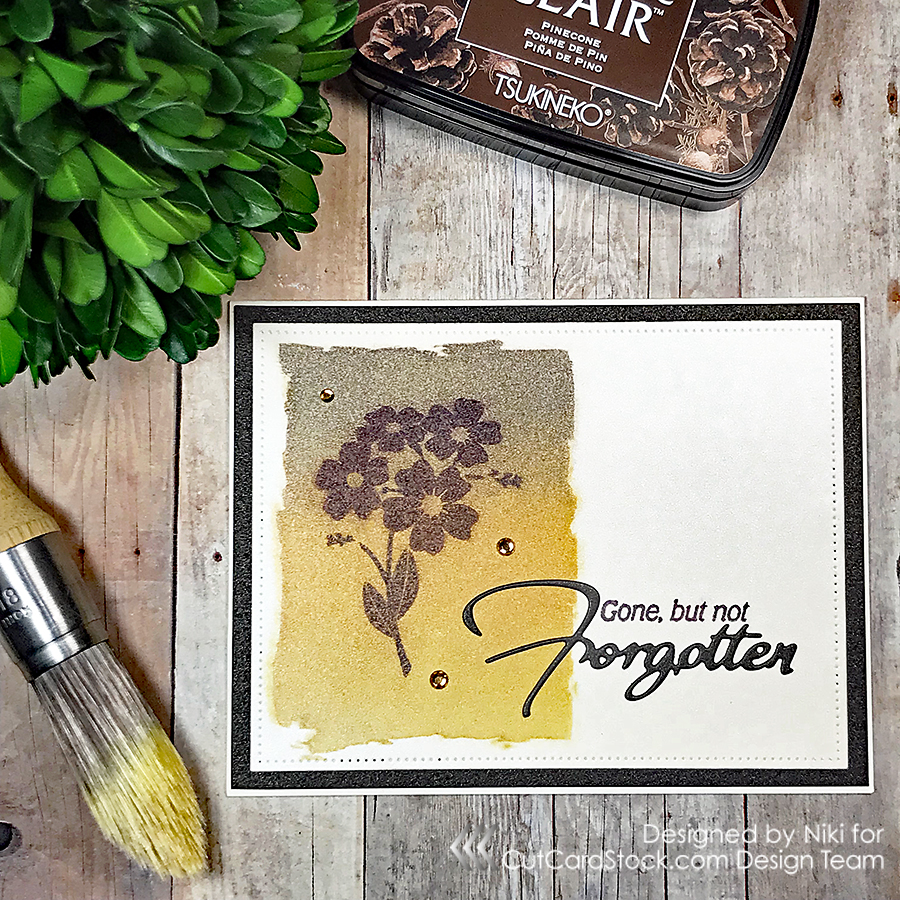
Next, I die-cut the ivory cardstock with a pierced rectangle die, then matted the panel with a 5 3/8 x 4 1/8 piece of chocolate cardstock.

To figure out how I wanted to stamp the flowers, I made a test image so I could mess around with placement.

Then, I used my finger to dab it a little and soften the edges. You can really see the sparkle from the cardstock here!

For the sentiment, I grabbed a MISTI

And here’s the finished card!
Thanks a ton for coming by today! Those fabulous Curious Metallic cardstocks are on sale for March, so stock up soon!
❤️ Niki • cardstoq.com • @cardstoq (on Instagram, Pinterest & Twitter)


Love the card but where can I get the the stamp and die from? Who made that?
ReplyDeleteHey Barbara! It's from Papertrey Ink. They have lots of unique stamp and die sets - this one is called Forget-Me-Not :)
ReplyDelete