

Hello! It is Lisa here today with you and I am super excited to share two different sets of Wedding Invitations I've created based on two hot trends for 2016: Woodland and Watercolor. These trends are not new to paper crafters and many other medium alike, but they are still going to be as hot as ever in the world of weddings and they are easy looks you can recreate for your special occasion! First, let's go over how to re-create the watercolor invitations...

Watercolor Invitation Supply List:
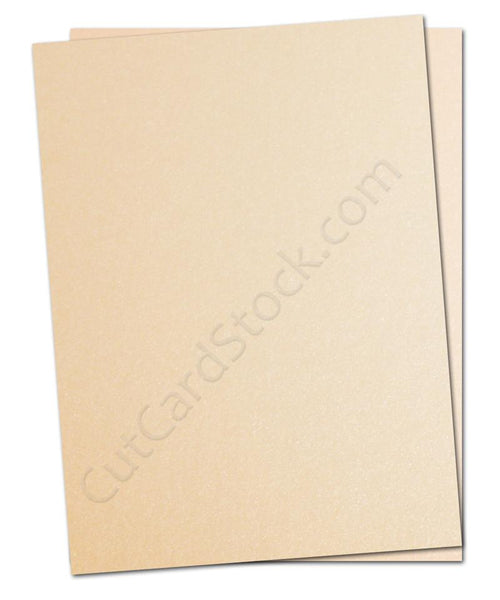
Curious Metallic Cryogen White
Stardream Metallic A7 Flat Cards: Aquamarine
Stardream Metallic Card stock: Aquamarine
Glitter Paper: POW Silver
Flavours Courmet A-7 Smoked Sea Salt Envelopes
Gansai Tambi Water Color Paint Set
BBP Marathon Runner Tape
Flat Paintbrush
Printer
Instructions:
- Start by using a flat paintbrush and watercolor of choice ( I used cornflower blue ) on a full sheet of Curious Metallic Cryogen White card stock. The trick to keeping the card stock from warping is to use a light amount of water and use broad strokes back and forth. I've provided an overview and close up picture below.


- Once your card stock has dried completely you can run it through your printer. You do not need a special printer for this, but I do suggest printing only a few at a time to make sure it is pulled correctly through.
- Next you will need to trim your invitation to 6 3/4" x 4 3/4". (Tip: When trimming your paper start by taking 1" off each side at a time making sure to cut evenly on both sides) Adhere your invitation wording to the flat card. Trim your reception card and rsvp at this time. You will need to trim them a 1/4" smaller all the way around so that some of your Glitter Cardstock. ( My outer measurements for these are as follows: reception card - 2 1/2" x 6 1/4"; rsvp card - 2 1/2" x 5")
- At this time you can choose to add some glam with 2 strips of POW Silver Glitter Cardstock measuring 1" x 5" each. One for the side of the invitation and one to go across the middle of the rsvp.

- Adhere your glitter strips.

- Adhere your written invitation panels, and your done!


Woodland Invitation:

Woodland Invitation Supply List:
Classic Crest Recycled Natural White Card stock
Savanna White Limba Woodgrain Card stock
Stardream Metallic Coral Card stock
Environment Raw A7 Envelopes
BBP Marathon Runner Tape
Printer
Twine
Optional: Cream chalk ink
Instructions:
- Trim Woodgrain Card stock to 5" x 7". I personally felt this color was too bright for the coordinating colors I had chosen so I lightly brushed the top of it with a cream chalk ink as seen below.

- Trim Metallic Cardstock to 4 3/4" x 6 1/2", and wording to 4" x 5 3/4" and adhere altogether. Finally tie twine around the top, wrapping it three times and tying it in the back.

- Now trim outer woodgrain cardstock for reception card to 5 1/2" x 3 1/4", and then trim Stardream Metallic Card stock 1/4" smaller both ways and wording another 1/4" smaller than the Metallic Card stock.
- For the rsvp card simply trim the Metallic card stock to 5" x 2" and trim wording to 1/4" smaller. Tie on twine as seen below.


I hope I've given you some inspiration and new ideas on how to make your own invitations easy, fun and trendy!
Happy Crafting!
Lisa
Supplies Used:


Great step by step instructions. They are very nice invites.
ReplyDelete