


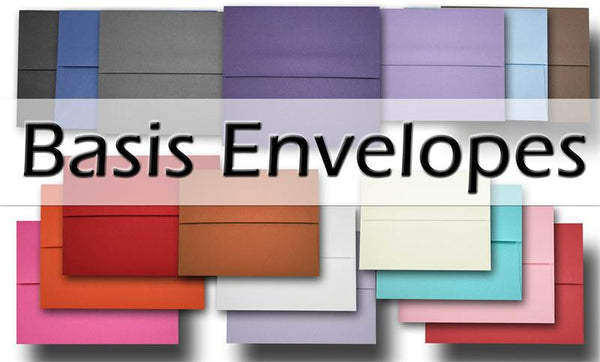
Step 1: Seal your envelopes. I chose to use adhesive tape to do this rather than just licking the seal, simply for a stronger hold. Once I did this, I trimmed off 1/4" of the top of each envelope for to opening to my goody bag. ( I used the Basis A7 Envelopes in Aqua and Coral )

Step 2: I then added white doilies to each envelope by folding one part of the doily over the back and adhering the rest to the front.

Step 3: Next I went ahead and die cutting some hearts out of Pop Tones cardstock in Blue Raspberry and Spearmint. I also stamped my sentiments at this time and used foam adhesive to pop them up. The silver ribbon really pops off the colors too!

Step 4: I stamped these fun images onto Savoy 100% Cotton 4 x 6 panel, 118#. I love this cardstock for watercoloring, it holds the color so well! I have chosen to work with the Gansai Tambi Starry Colors and the Zig Pearlescent Watercolor Paint Pallete. Both have a fantastic shimmer to them. (Tip: when watercoloring with these paints and your stamped lines get covered use clean water to remove the paint.)


Super easy! You could have wedding favors, party treats, or goody bags for any occasion that match your color schemes and won't take forever to create!
Thanks so much for stopping by and Happy Crafting!
Lisa
Supplies Used:


They are so cute and the envelope colors are really pretty.
ReplyDelete