


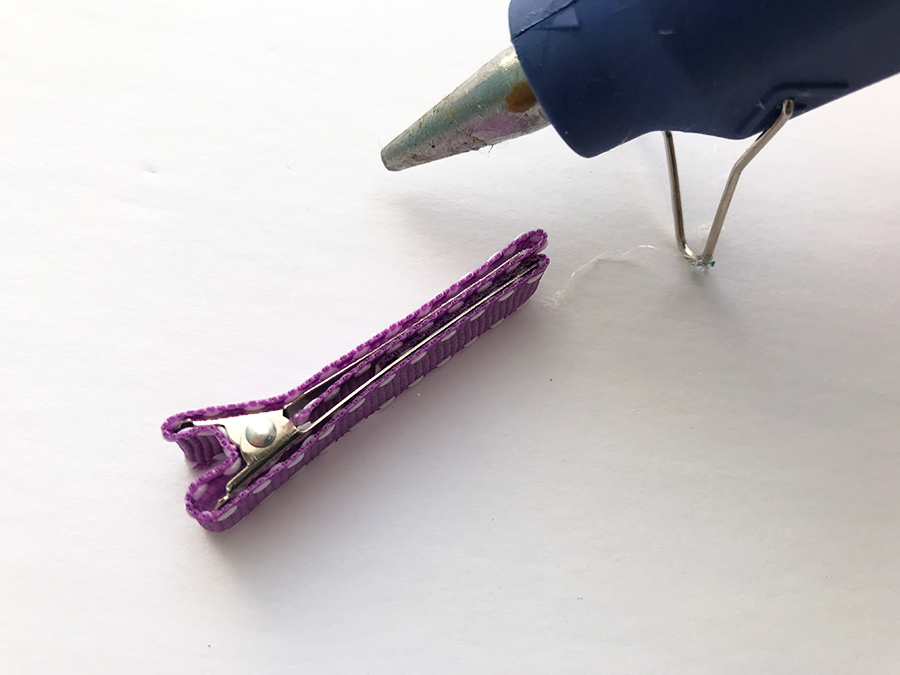
To begin, you need a hair clip, such as the metal double prong hair clip I used in this project, and hot glue ribbon around the entire metal clip. I suggest starting from one inner side and wrapping around the entire metal clip until you end at the other inner side.
Next, I used the base piece of this mermaid hair bow cut file and had it cut by my Silhouette CAMEO. Each child's head size differs but for my 3-year-old, the length of the hair bow base piece was about 3.75 inches long.
Similar to the technique of curling ribbon, I used my fingers to "curl" the paper hair bow base piece and glued the tab down using Tombow Mini Liquid Glue.

Then, I hot glued the ribbon-wrapped clip to the paper hair bow base piece.

For the scales, I had my die-cutting machine cut little circles, approximately 0.45in wide. I recommend using five colors in your color palette including the same color as your base piece to establish color cohesion. I used Pop Tone Cardstock in Blue Raspberry, Stardream Metallic paper in Amethyst and Opal, Curious Metallic in Aquamarine, and POW Gold Glitter paper. To create the scale effect, I placed one circle at midpoint of the hair bow base piece and layered on the rest one by one with Tombow glue. Each row of scale had one circle more than the previous one.

For the very last row, I made sure the circles hung over the edge so that I could give it a flush edge with scissors.

Lastly, I drew lines and dots on the mermaid's tail with a Sakura white Gelly Roll pen. Once dried, I added Stickles Glitter Glue for extra glittery flair. Never enough glitz, right?


These would be adorable party favors for a little girl's mermaid-themed party! Thanks for reading! Check out our Facebook page and follow for more inspiration from the CutCardStock Design Team!
xo,
Christine (@studio_xtine)


No comments
Thank you for visiting the CutCardStock blog! We appreciate your comments.